Thinking about ending your Unbounce subscription? Whether your landing page needs have changed or you’re exploring other tools, managing subscriptions is crucial. This guide will help you cancel smoothly, with links from Unbounce’s official site. Unbounce is a leader in Web Development & Design. Discover exclusive deals and explore alternatives like Wix, Squarespace, Webflow, Figma, and Adobe Creative Cloud.
How to Cancel Unbounce: Step-by-step
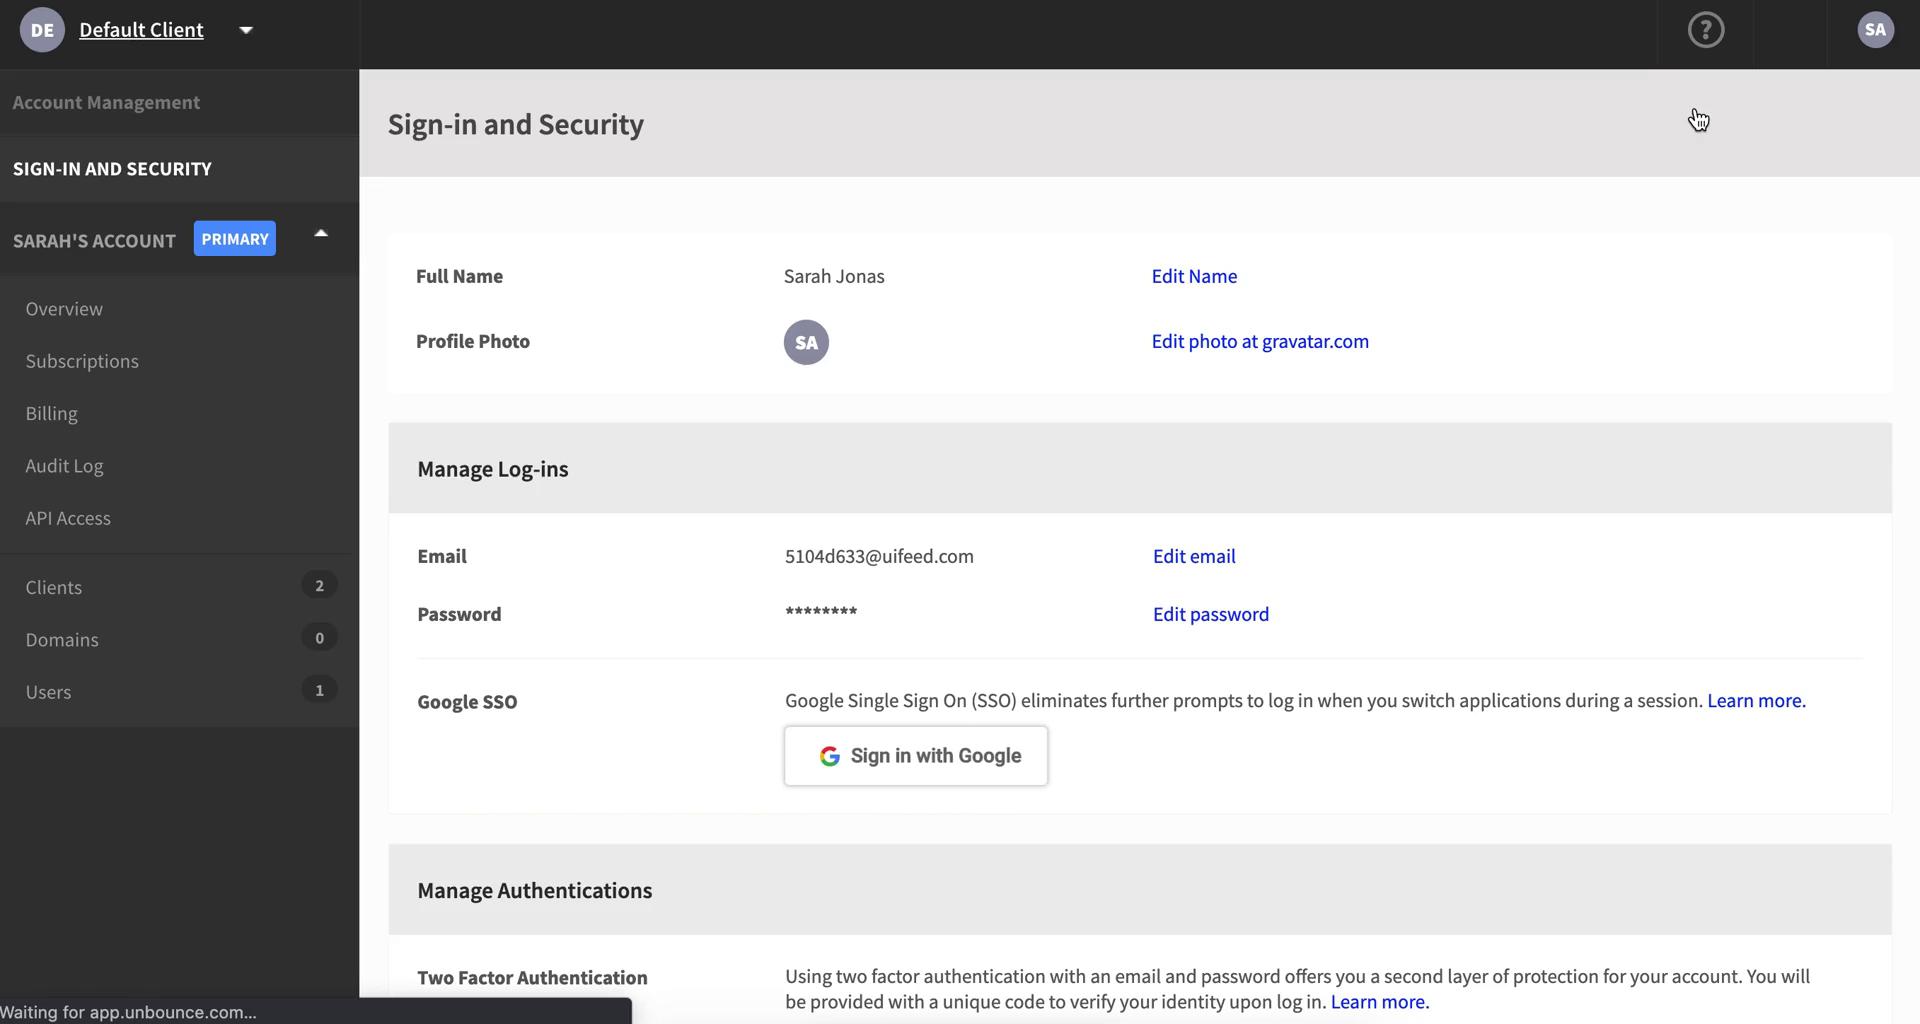
Step 1: Log into Your Unbounce Account Initiate the cancellation process by logging into your Unbounce account. Visit the official Unbounce website and look for the “Log In” or “Sign In” option. Enter your credentials to access your account.
Step 2: Access Your Subscription Settings Once logged in, navigate to the account settings or subscription management section. This is typically found in the user dashboard or under profile settings. Look for a tab or link specifically related to subscriptions.
Step 3: Locate the Cancel Subscription Option Within the subscription management section, search for an option labeled “Cancel Subscription” or “Manage Subscription.” Click on this option to proceed.
Step 4: Follow the Cancellation Process Unbounce may prompt you to provide feedback or a reason for canceling. Follow the on-screen instructions to complete the cancellation process. Be sure to review any terms or conditions associated with cancellations to avoid any surprises.
Step 5: Confirm the Cancellation Before finalizing the cancellation, Unbounce might ask you to confirm your decision. Double-check your cancellation details, and if everything looks accurate, confirm the cancellation. Expect to receive a confirmation email shortly after.
Looking for Alternatives?
If you’re looking for other tools to help with your landing page creation and optimization after canceling your Unbounce subscription, here are some top alternatives to consider:
Instapage: A robust platform offering advanced landing page creation and A/B testing features to optimize your conversion rates.
Leadpages: Known for its user-friendly interface, Leadpages provides a variety of templates and tools to create high-converting landing pages.
HubSpot: Offers a wide range of marketing tools, including landing page creation, CRM, and analytics, to help grow your business.
Webflow: A powerful web design tool that allows you to build responsive websites and landing pages without coding.
Figma: While primarily a design tool, Figma can be used to prototype and design landing pages collaboratively.
Adobe Creative Cloud: Offers a suite of design tools, including Adobe Photoshop, for creating visually stunning landing pages.
Nullify: Provides a unique approach to web development and design, offering tools for building and optimizing web projects.
Each of these platforms offers unique capabilities to help you continue building, optimizing, and growing your landing pages and marketing efforts.
Conclusion: Canceling your Unbounce subscription is a straightforward process when you follow these steps. If you encounter any issues or have questions during the cancellation process, visit the Unbounce Support page for assistance.
It’s crucial to review the cancellation policies and terms provided by Unbounce to ensure a smooth process. Should you decide to return, you can easily sign up for a new subscription on their pricing page.
Additional Tips:
Save a copy of your cancellation confirmation for your records.
Verify your billing cycle to ensure you won’t be charged for the next subscription period.