How to Cancel Todoist (2026)
How to cancel Todoist
Thinking about canceling your Todoist subscription? Whether your task management needs have evolved or you’re exploring other productivity tools, managing subscriptions is a key part of digital resource management. In this guide, we’ll walk you through the steps to cancel your Todoist subscription, complete with links from their official website for a smooth process. As a part of the Worksuite category, consider alternatives like Trello, Asana, Notion, Microsoft 365, Google Workspace, or Calendly. Don’t miss out on exclusive deals.
Step 1: Log into Your Todoist Account Initiate the cancellation process by logging into your Todoist account. Visit the official Todoist website and look for the “Log In” or “Sign In” option. Enter your credentials to access your account.
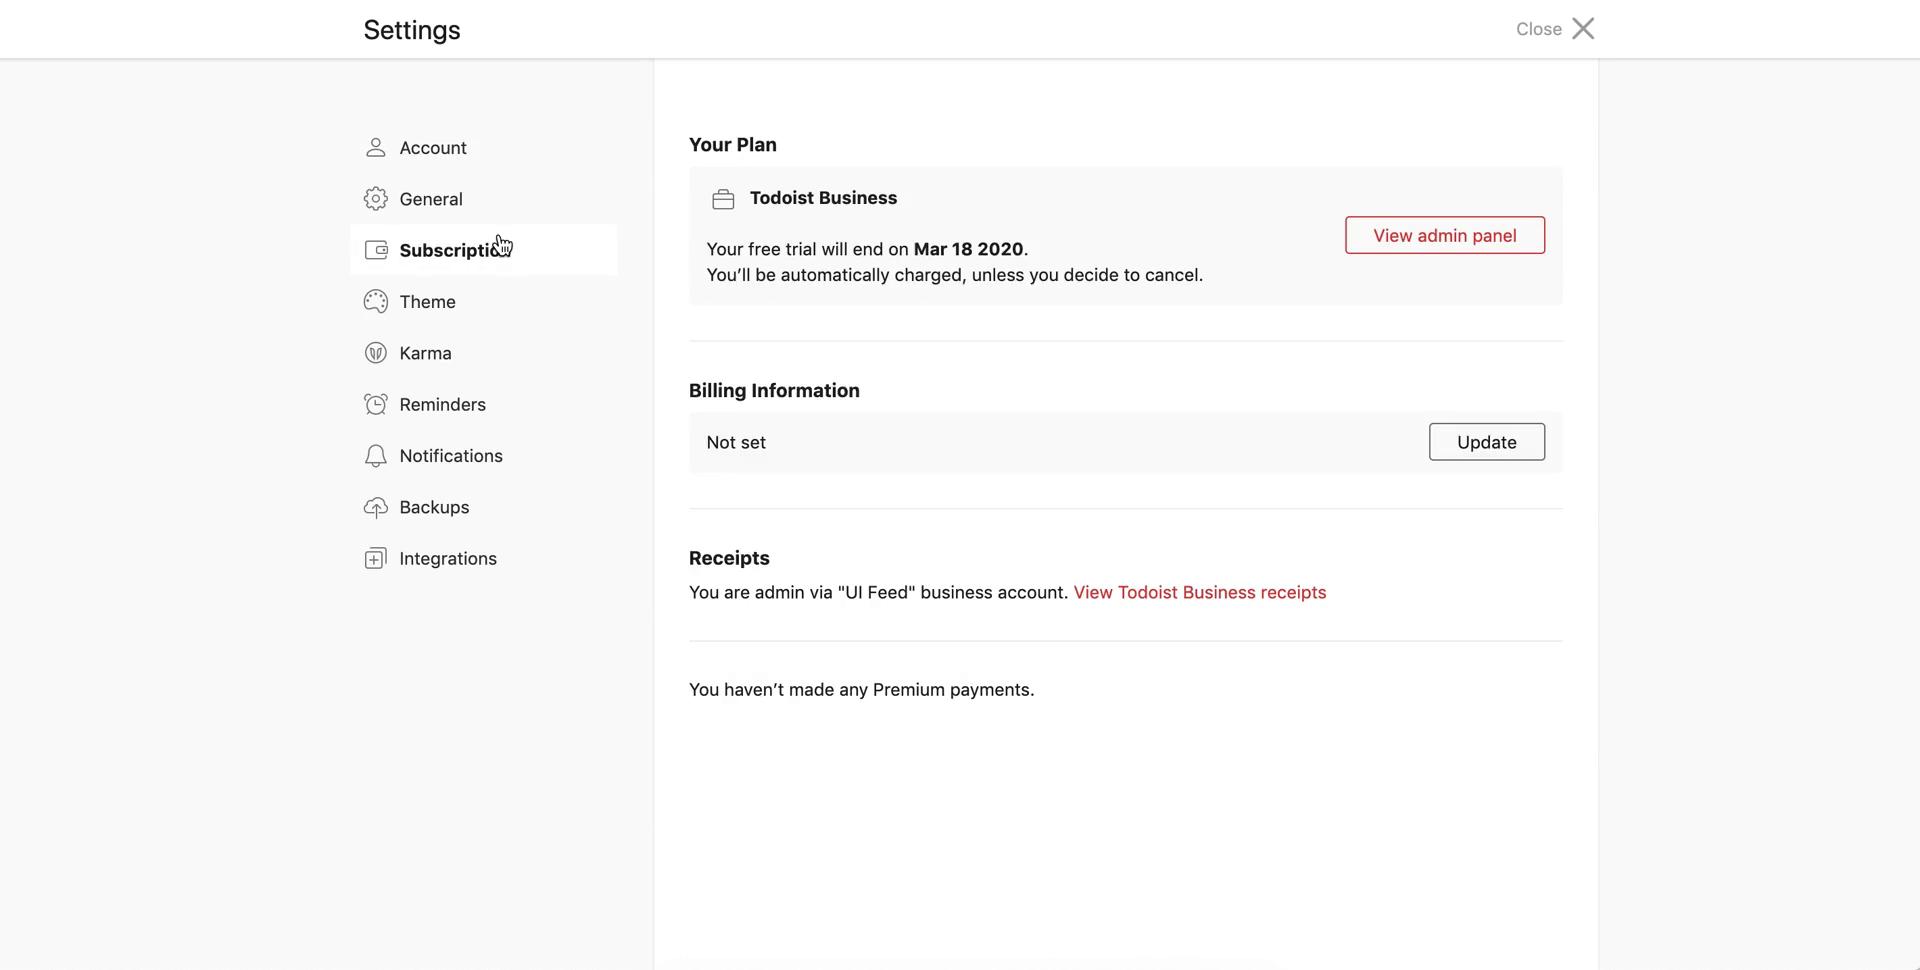
Step 2: Access Your Subscription Settings Once logged in, navigate to the account settings or subscription management section. This is typically found in the user dashboard or under profile settings. Look for a tab or link specifically related to subscriptions.
Step 3: Locate the Cancel Subscription Option Within the subscription management section, search for an option labeled “Cancel Subscription” or “Manage Subscription.” Click on this option to proceed.
Step 4: Follow the Cancellation Process Todoist may prompt you to provide feedback or a reason for canceling. Follow the on-screen instructions to complete the cancellation process. Be sure to review any terms or conditions associated with cancellations to avoid any surprises.
Step 5: Confirm the Cancellation Before finalizing the cancellation, Todoist might ask you to confirm your decision. Double-check your cancellation details, and if everything looks accurate, confirm the cancellation. Expect to receive a confirmation email shortly after.
Looking for Alternatives?
If you’re seeking other tools to enhance your productivity and manage tasks after canceling your Todoist subscription, consider these top alternatives:
- Trello: A flexible project management tool that uses boards, lists, and cards to help you organize tasks and collaborate with your team.
- Asana: Ideal for team collaboration, Asana offers a comprehensive platform for managing projects, tracking progress, and improving productivity.
- Microsoft To Do: A simple and intuitive task management app that integrates seamlessly with other Microsoft products.
- Notion: A versatile tool that combines note-taking, task management, and collaboration features in one platform.
- ClickUp: A powerful productivity platform that offers a wide range of features, including task management, time tracking, and goal setting.
- Microsoft 365: A comprehensive suite of productivity tools, including Word, Excel, and Outlook, that supports collaboration and task management.
- Google Workspace: A collection of cloud-based productivity and collaboration tools, including Gmail, Docs, and Drive, designed to enhance team efficiency.
- Calendly: A scheduling tool that simplifies meeting planning by integrating with your calendar and allowing others to book time with you easily.
Each of these platforms offers unique capabilities to help you continue organizing, managing, and completing your tasks efficiently.
Conclusion: Canceling your Todoist subscription is a straightforward process when you follow these steps. If you encounter any issues or have questions during the cancellation process, visit the Todoist Help Center for assistance.
It’s crucial to review the cancellation policies and terms provided by Todoist to ensure a smooth process. Should you decide to return, you can easily sign up for a new subscription on their pricing page.
Additional Tips:
- Save a copy of your cancellation confirmation for your records.
- Verify your billing cycle to ensure you won’t be charged for the next subscription period.